With the temperature hovering around zero and the winter wind whipping fiercely enough to take your breath away when you step outside, I decided that there’s nothing better to do than to can some carrots.
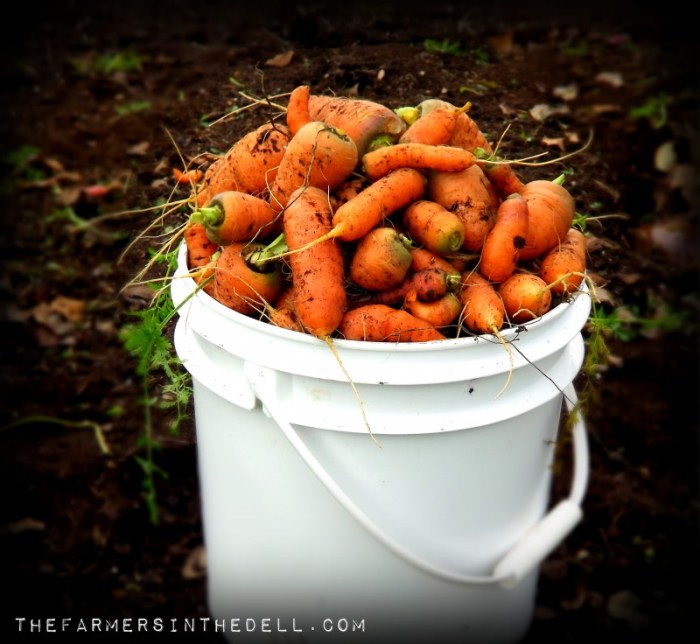
I stored some carrots in a friend’s root cellar back in the fall which were a mixture of Saint Valery, Atomic Red and Scarlet Nantes.
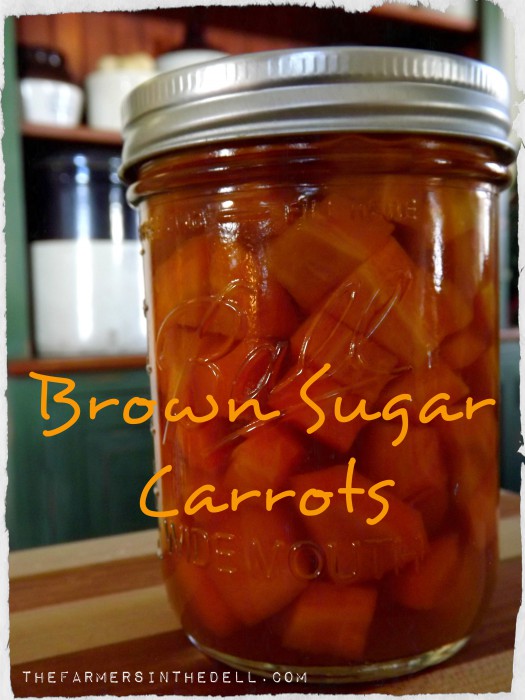
This canning recipe calls for processing the carrots in a pressure canner. Because carrots are low in acidity, the only safe way to can them is under high pressure. Makes approximately twelve 1/2 pint jars.
Brown Sugar Carrots Recipe for Canning
INGREDIENTS
- 10 lbs of carrots, scrubbed, peeled and cut into approximately 1/4″ rounds
- 3 cups brown sugar
- 3 cups water
- 1-1/2 cups orange juice
DIRECTIONS
- Wash jars and rings (not lids) in hot water with detergent; be sure to rinse well. Place in warm oven. I wash all my jars and rings in the dishwasher and put them in a warm oven until I’m ready for them. I do this first, so the jars are washing while I’m preparing the carrots. Keeping the jars warm will prevent them from breaking as you are filling them. When using a pressure canner, you do not need to sterilize the jars and rings at a high temperature.
- Prepare your pressure canner according to manufacturer’s instructions.
- Place canning lids in a separate small pot with a few inches of water and bring to a gentle simmer.
- Scrub, peel and cut carrots into approximately 1/4″ rounds
- Stir together brown sugar, water and orange juice; bring to a simmer stirring constantly until sugar is dissolved. Keep warm over low heat.
- Fill clean jars with carrots, leaving at least 1/2″ head space at the top of the jar.
- Pour brown sugar mixture over carrots; be sure to leave an overall 1/2″ head space at the top of the jar.
- Remove air bubbles by running a plastic utensil around the inside of the jar.
- Wipe jar rims and place lids and rings on top; tighten snugly. Don’t over tighten.
- Place appropriate amount of jars in pressure canner. Seal lid and vent according to manufacturer’s instructions. BE SURE there is the appropriate amount of water (usually between 2″ – 3″) in the canner before you seal the lid.
- After venting (according to manufacturer’s directions), place weight on vent and process half-pints for 20 minutes at 10 lbs of pressure or pints for 30 minutes at 10 lbs of pressure.
- At the end of the processing time, turn off the heat and allow canner to cool by itself. DO NOT remove the pressure weight until the gauge reaches ZERO. You may burn yourself and depressurizing the canner will pull all the liquid out of the jars. DO NOT try and cool the canner with cold cloths or water.
- Once the gauge reaches zero, open the lid (away from your face) and remove jars and place in a draft-free area. You will soon start to hear the familiar “PLIP” as the lids seal.
- Once the jars have cooled, you can check to see if you have a good seal by gently pressing the center of the lid. If it pops up and down, your jar did not seal. Immediately refrigerate or discard jars that did not seal.
- NOTE: When the jars have cooled, your rings may not be tight. This is perfectly fine as long as the lids are sealed properly. If you leave the rings loose, you are less likely to have them rust in place.
As with any food, if it looks funky or smells nasty, THROW IT AWAY. Nobody wants a heaping serving of food poisoning with dinner.


